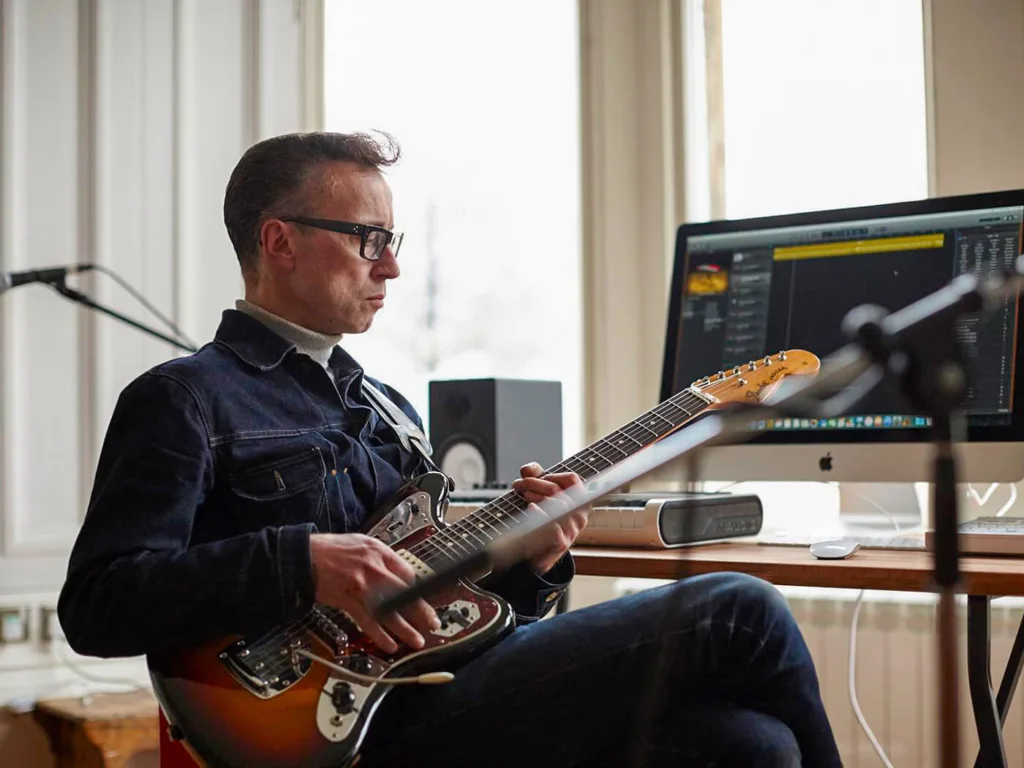
Are you a budding guitarist looking to record your electrifying riffs and solos? Are you overwhelmed by the technicalities of recording equipment and unsure of where to start? Don’t worry, I’ve been there too. As an experienced musician and recording enthusiast, I understand the struggle of trying to achieve that perfect sound in a home studio setting.
In this article, I’ll walk you through everything you need to know about recording electric guitar, from choosing the right gear and setting up your space, to techniques for capturing different tones and effects. Whether you’re planning on releasing music or just jamming at home, this guide will help you get started on your recording journey with confidence. Let’s dive into these simple tips and tricks so you can start creating professional-sounding recordings of your favorite instrument!
So, how to record electric guitar?
Recording electric guitar can seem daunting for beginners, but with the right techniques and equipment, it can be a fun and rewarding experience. Here are some simple tips and tricks to help you get started.
Firstly, make sure you have all the necessary equipment. You will need an electric guitar, an amplifier or audio interface, cables, a computer or recording device, and recording software.
Next, set up your recording space. Find a quiet room with good acoustics where you won’t be disturbed. Make sure there is enough space for your equipment and that everything is properly connected.
Before recording, it’s important to tune your guitar properly. This will ensure that your recordings sound in tune and professional.
When setting up your amplifier or audio interface, experiment with different microphone placements to find the best sound for your specific setup. Placing the mic directly in front of the speaker cone will give you a brighter tone while placing it more towards the edge of the cone will result in a warmer tone.
It’s also helpful to record multiple takes of each part so that you have options when mixing later on. This allows you to choose which take sounds best for each section of the song.
In terms of effects and settings on your amplifier or audio interface, less is often more when it comes to recording electric guitar. Keep things simple by using minimal effects and adjusting levels as needed during mixing.
Another tip is to use headphones while recording instead of relying solely on monitoring through speakers. This helps eliminate any unwanted background noise from being picked up by microphones.
Lastly, don’t be afraid to experiment! Recording electric guitar allows for endless possibilities in terms of tone and sound manipulation. Try out different amp settings or add some distortion pedals into the mix – have fun with it!
With these simple tips and tricks in mind along with practice and experimentation, anyone can learn how to record electric guitar like a pro! So grab your gear and start creating some killer tracks.
Choosing the Right Recording Equipment for Electric Guitar
Selecting the perfect recording equipment for an electric guitar can feel a bit like finding your way through a maze. But once you know what to look for, it’s actually pretty simple. First, think about your audio interface. This is basically the bridge between your guitar and computer. You’ll need one with good preamps that can handle high-quality audio signals without adding noise or distortion. Some popular choices include Focusrite Scarlett 2i2 and PreSonus AudioBox USB 96.
Next up is the microphone. Even though electric guitars often plug directly into interfaces, using a good mic can capture those rich tones from your amp that direct input can’t always get right. Look at dynamic mics like the Shure SM57—they’re sturdy and great for capturing loud sounds without breaking a sweat. Condenser mics are another option if you’re after more detail in quieter settings.
When it comes to choosing cables and connectors, don’t skimp here either! High-quality cables ensure clean signals with minimal interference:
- Invest in shielded instrument cables.
- XLR cables for microphones.
Finally, consider getting some software plugins for effects and amp simulations if you aren’t using physical pedals or amps already; they add versatility to your sound palette without needing extra hardware cluttering up your space.
Remember: Your ear is ultimately the best judge—trust it as you mix and match gear until you find what works perfectly with YOUR music!
Setting Up Your Electric Guitar Space: Acoustics and Placement for Optimal Sound Quality
Creating the perfect space for your electric guitar is like crafting a cozy nook for an old friend. The right placement and acoustics can make all the difference in how your music sounds. Start by finding a room with minimal echoes; carpets, curtains, and cushy furniture can help absorb stray sounds. Avoid rooms with lots of hard surfaces like tiles or bare walls which can cause unwanted reverberation.
Think carefully about where to set up your amp and speakers too. Placing them against a wall might seem like a good idea, but it often results in muffled tones from sound waves bouncing back into each other. Instead, experiment with different spots around the room until you find that sweet spot where everything feels just right—like Goldilocks’ porridge! Also consider:
- Keeping cables tidy
- Avoiding direct sunlight on equipment
- Minding socket locations for easy plug-ins
When arranging your gear, always think ahead about how you’ll move around while playing; tripping over cables mid-solo is no fun at all! By putting some thought into these details now, you’re setting yourself up for many inspiring jam sessions down the line.
Read also: What should I expect to pay for guitar lessons?
Techniques for Capturing Different Electric Guitar Tones & Effects while Recording
Electric guitars can produce a symphony of tones and effects, thanks to the magic of various techniques. One trick that many musicians swear by is using different pickup settings. By simply switching between the neck and bridge pickups, you can dramatically alter your guitar’s voice. For instance, the neck pickup often yields a warmer, fuller sound perfect for blues or jazz riffs. On the other hand, flipping to the bridge pickup delivers a brighter tone ideal for rock solos.
But don’t stop there! Experimenting with guitar pedals opens up even more tonal landscapes. Here are some popular options:
- Overdrive: Adds grit and sustain.
- Reverb: Creates an ethereal echo effect.
- Delay: Repeats notes at set intervals.
Layer these effects subtly or go all out—either way, they’ll add depth to your recordings.
Now let’s talk about amp settings because they’re crucial too. Tweaking your amplifier’s EQ—bass, midrange, treble—can make each note sing just right in a mix. Dial down bass for crisp clarity or boost mids for that robust body sound. And don’t overlook mic placement; positioning it closer captures detailed nuances while moving it back provides room ambience.
With these techniques under your belt? You’re not just playing music; you’re crafting sonic art.
Dive deep into this endless world of electric guitar tones and effects—the possibilities are as limitless as your creativity!

Post-Production Tips: Mixing and Mastering Your Electric Guitar Recordings
Once you’ve laid down your electric guitar tracks, the real magic happens in post-production. Mixing and mastering are crucial steps to ensure your recordings sound professional. Start by focusing on balance. Each track should blend harmoniously with others. Adjust the levels so that no single element overshadows another unless it’s meant to stand out, like a solo. Use panning to place instruments within the stereo field; this creates space and helps each part breathe.
Next is EQ, which shapes your guitar tone. Identify frequencies that clash with other instruments and cut them slightly. Boosting certain frequencies can also highlight unique aspects of your guitar’s sound—just don’t overdo it! After EQ comes compression. This tool evens out volume differences in your performance, making the quieter parts more audible while taming peaks that might otherwise distort.
- Reverb: Adds depth but use sparingly.
- Delay: Creates a sense of space.
- Saturation: Gives warmth and character.
Mastering involves final adjustments to prepare the mix for various playback systems like headphones or car speakers. Ensure consistent volume levels across all tracks in an album for a cohesive listening experience. Finally, always trust your ears but also seek feedback from others; fresh perspectives can catch details you might miss!
You may also like: wm knabe piano value
Conclusion: Creating Professional Electric Guitar-Sounding Recordings with Confidence
Recording an electric guitar can feel like trying to capture lightning in a bottle. To get a professional sound, the first step is choosing the right gear. It’s not just about having any old guitar; you need one that resonates with your style. Next, think about your amp and pedals. A good amp shapes your tone, while pedals add flavor—like distortion for grittiness or reverb for spacey vibes.
But gear isn’t everything; how you play matters too. Precision and feeling are key ingredients in every great recording. Make sure your playing is clean and accurate before hitting that record button.
When you’re ready to record, pay attention to mic placement if you’re using an amplifier. Placing the mic directly in front of the speaker captures raw power, while angling it off-axis gives a more mellow tone.
Software also plays a huge role.
Digital Audio Workstations (DAWs) give you immense control over each note and effect.
Add some EQ adjustments here and there, maybe tweak the bass or brighten up those highs. Don’t forget panning—it spreads out sounds across left and right speakers, making them pop even more.
Finally, trust your ears. Listen back carefully; does it sound like what’s in your head?
If yes, congratulations! You’ve nailed it.
If not, don’t stress; keep tweaking until it’s perfect.
Your confidence will grow with each take—and soon you’ll be crafting recordings that truly shine.

