
Are you tired of your guitar taking up precious space on the floor? Want to proudly display it on your wall but not sure how? Well, I’ve got you covered! As a fellow guitar enthusiast and DIY lover, I understand the struggle. That’s why in this article, I’ll guide you through each step of hanging a guitar on your wall. No more tripping over your instrument or dusty cases cluttering up the corner of your room. With my simple and easy-to-follow instructions, you’ll have that guitar hanging like a piece of art in no time. So grab your tools and let’s get started!
So, how to hang guitar on wall?
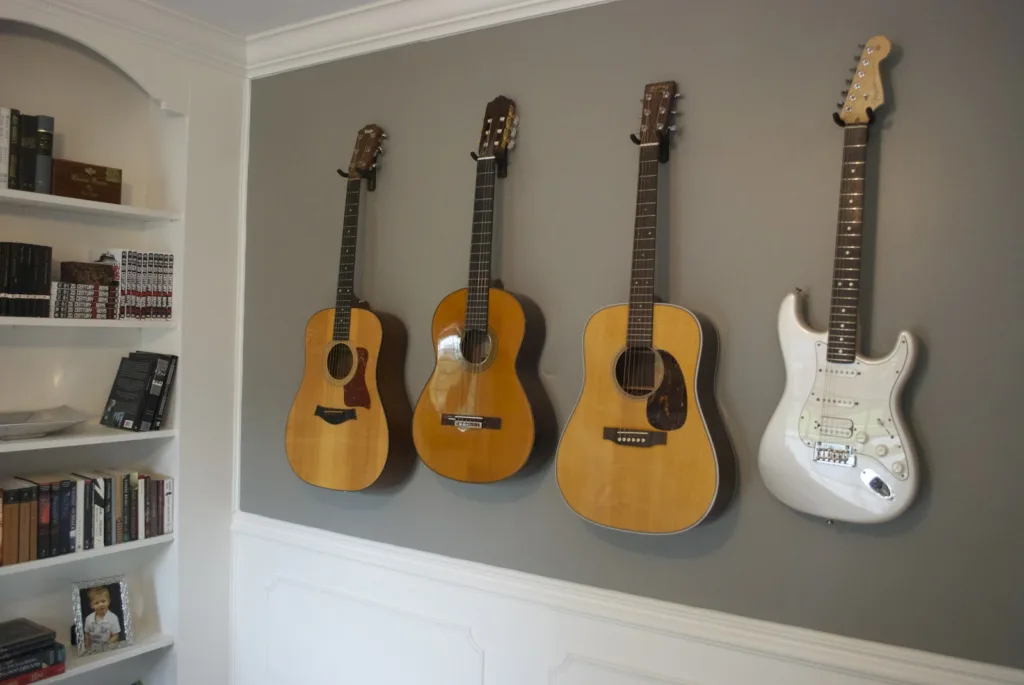
Hanging a guitar on the wall is a great way to display and store your instrument while also adding some decorative flair to your space. It’s an easy and convenient option for beginners who may not have much floor or storage space for their guitar.
Step 1: Choose the Right Wall
The first step is to choose the right wall for hanging your guitar. Make sure it’s a sturdy, flat surface that can support the weight of your guitar. Avoid walls with direct sunlight or moisture, as these can damage your instrument over time.
Step 2: Gather Your Materials
You will need a wall mount specifically designed for guitars, which you can find at most music stores or online. You’ll also need screws, anchors (if necessary), and a drill.
Step 3: Measure and Mark
Measure the distance between the two mounting holes on your guitar mount and mark those same measurements on the wall where you want to hang your guitar. Use a level to make sure they are even.
Step 4: Drill Holes
Using a drill bit slightly smaller than the screws provided with your mount, drill holes into each marked spot on the wall.
Step 5: Install Anchors (If Necessary)
If you’re drilling into drywall, it’s important to use anchors to ensure that your mount stays securely in place. Simply insert them into each drilled hole before moving onto step six.
Step 6: Screw in Mount
Place one end of the screw through each mounting hole in the mount and screw them tightly into place using either a screwdriver or power drill if available.
Step 7: Hang Your Guitar!
Once everything is securely mounted on the wall, carefully hang up your guitar by placing its neck onto one side of the mount first then gently lowering it until both sides are securely in place.
And there you have it! A simple yet effective guide for beginners on how to hang their guitars on walls. Just remember to regularly check the mount and screws for any signs of wear and tear, and always handle your guitar with care when taking it on or off the wall. Happy hanging!
Understanding the Necessary Tools and Materials for Hanging Guitar on Wall
Getting Your Tools and Materials Ready
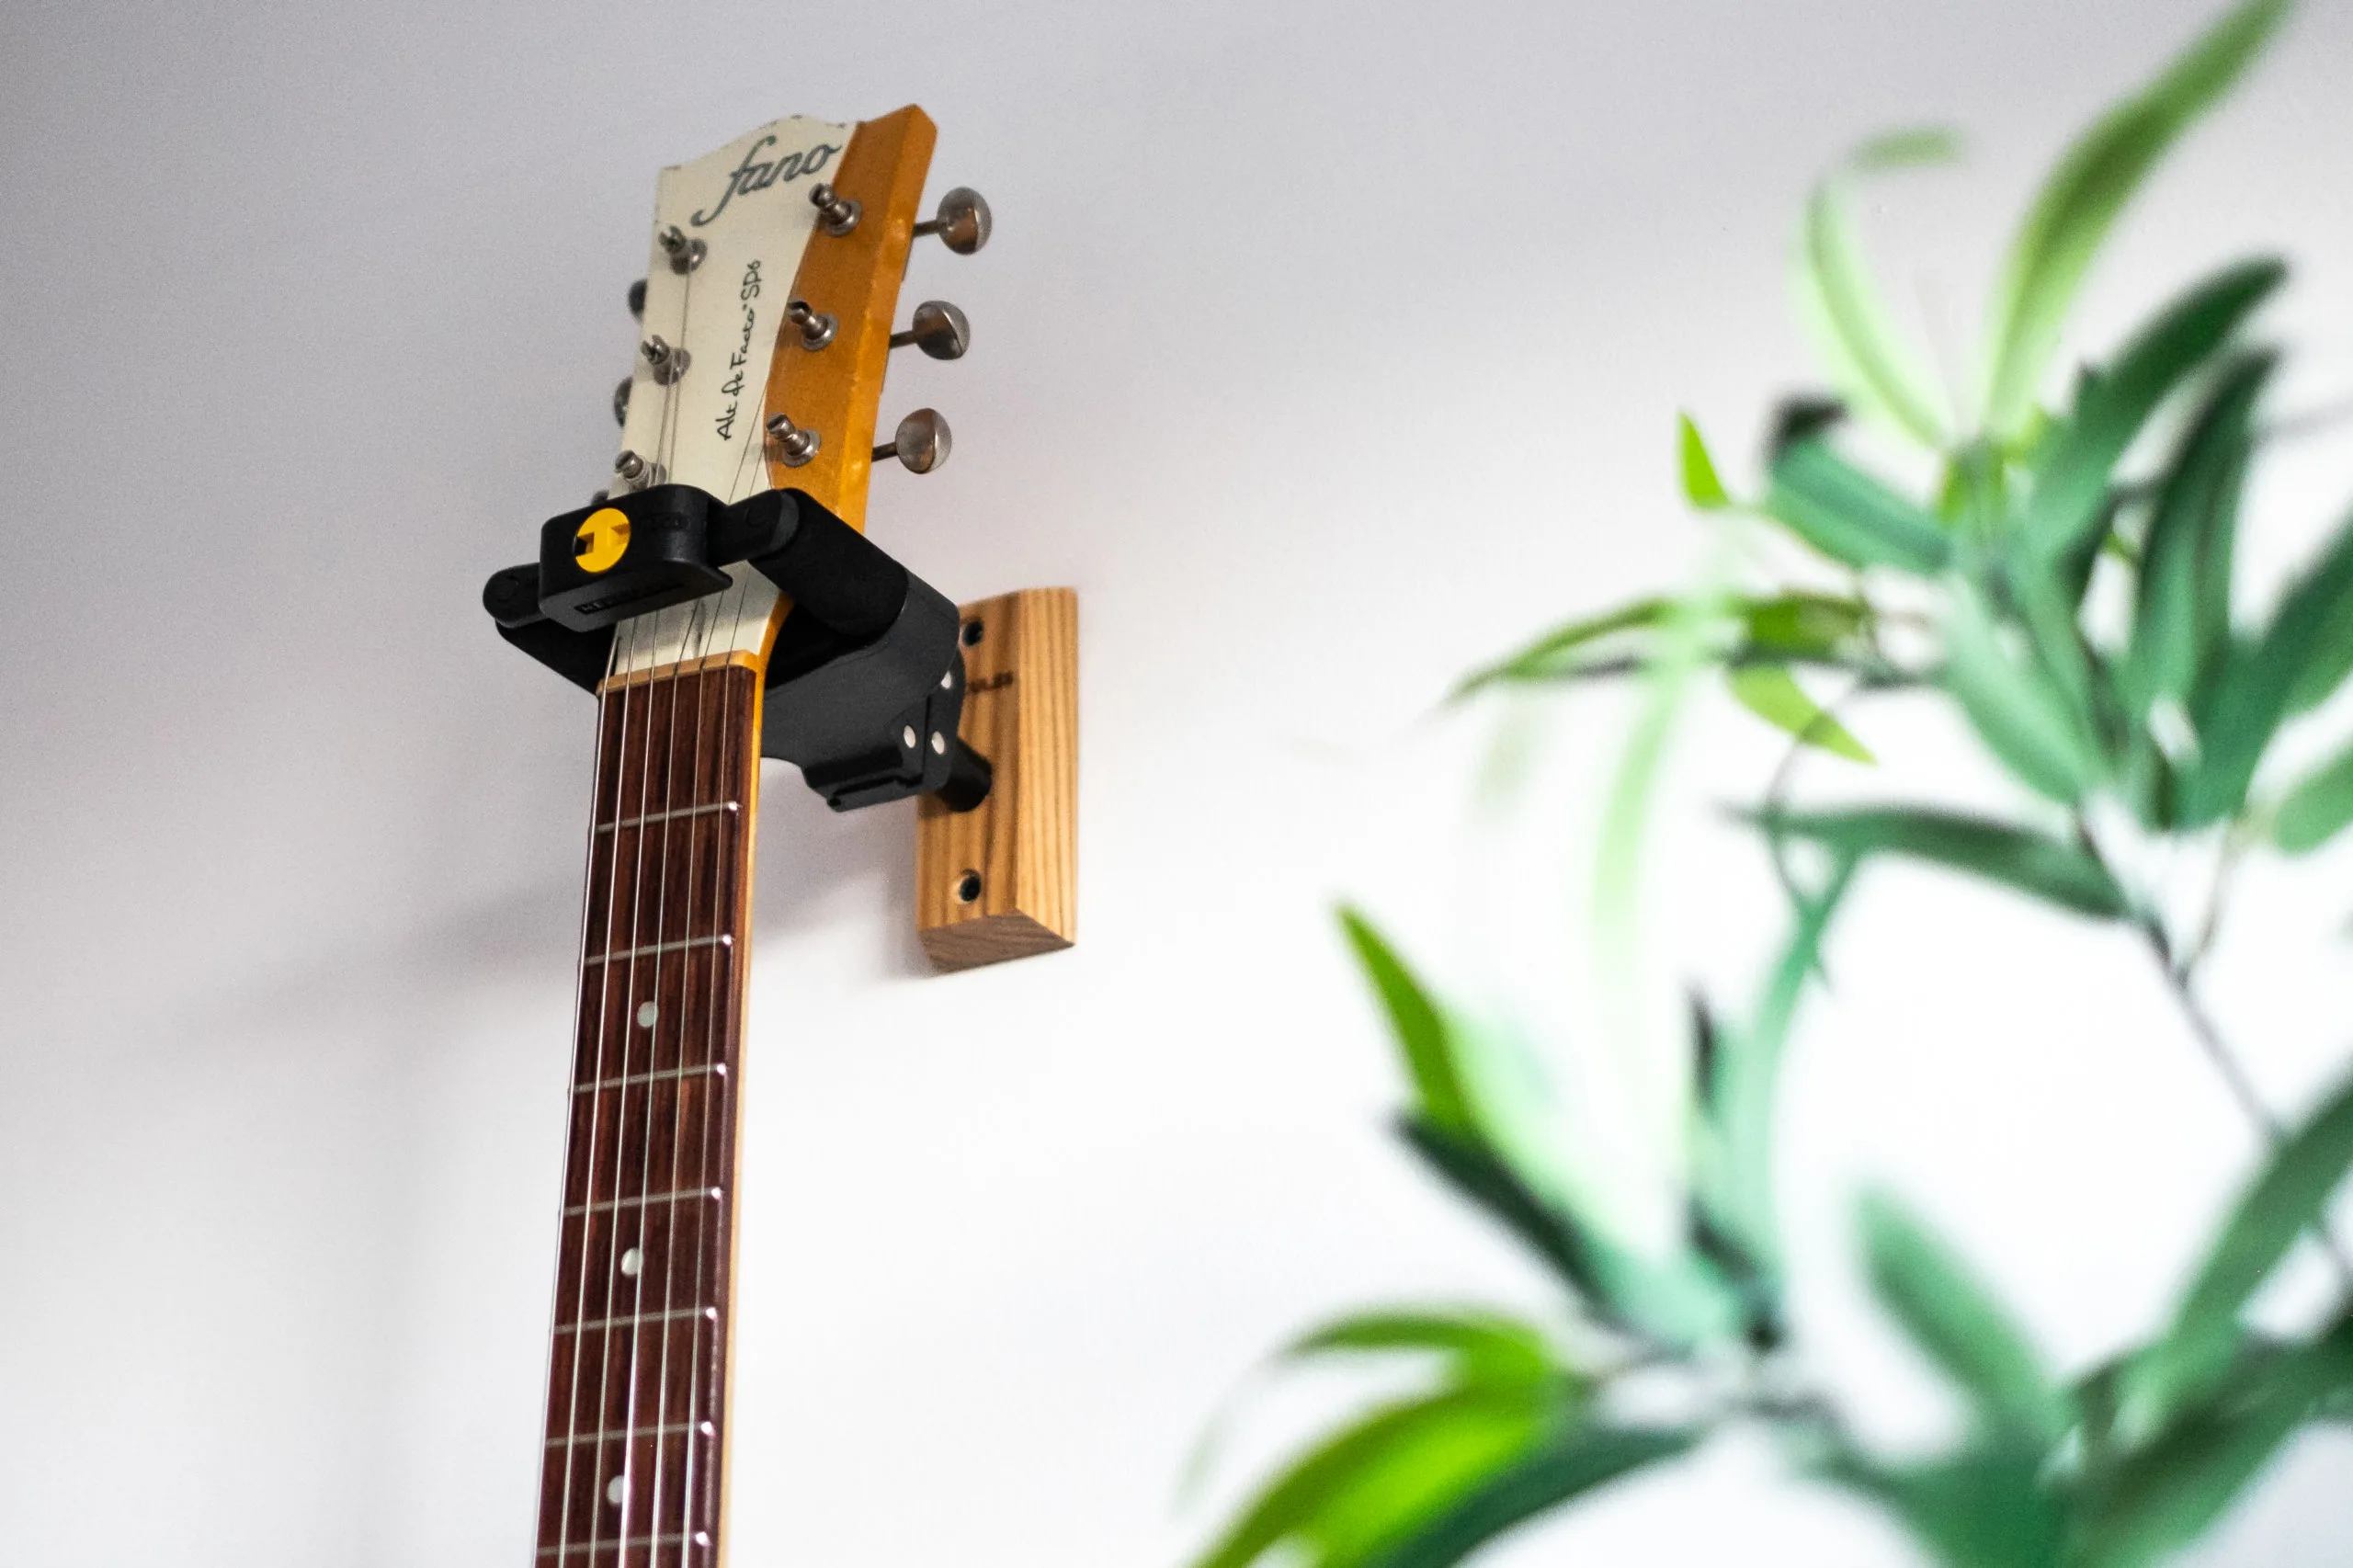
Before you hang your beloved guitar on the wall, you need to gather a few essential items. Firstly, a guitar hanger is crucial. These can be purchased online or at a local music store and are designed specifically to hold the weight of various types of guitars securely without causing any damage. Make sure it’s padded; this helps protect your guitar’s neck from scratches.
Secondly, you’ll need some quality wall anchors and screws. These usually come with the hanger but if not, they’re available in hardware stores. They should be sturdy enough to support both the weight of the hanger and your guitar.
Next up is a good old-fashioned tape measure ; this tool will help ensure that everything lines up perfectly on your wall for an appealing display.
The Installation Process – Taking Care With Every Step
Now that we have all our tools ready, let’s delve into how each one plays its part in creating that perfect spot for your instrument.
- A tape measure comes first: use it to determine where exactly on the wall you want your precious six-stringer to reside- considering eye level visibility.
- After figuring out just where you want it hung, take those robust screws and anchors I mentioned earlier- drill them into place using an electric screwdriver or drill.
- The finalized step involves attaching our pre-bought padded-guitar hanger onto these mounted screws ensuring its firmness by tightening well.
Remember patience is key here – rushing could lead to off-centered placement or worse yet – a damaged instrument! Take pride in showcasing what brings melodies into life in such elegant way.
Selecting the Ideal Location to Hang Your Guitar
When you’ve decided to showcase your guitar like the piece of art it truly is, finding the ideal location for its display becomes a crucial task. Think about what areas of your home get maximum visibility, but also remember that guitars are sensitive instruments that need appropriate environmental conditions.
The wall behind your couch in the living room could be an outstanding stage for your beloved instrument, catching every visitor’s eye and sparking conversations. However, make sure this spot isn’t exposed to intense sunlight or harsh artificial lights; these can damage the wood and cause it to warp over time.
Now let’s consider other factors that go into selecting an impeccable position:
- Safety: Keep away from high-traffic areas where it might accidentally get knocked off.
- Ambiance: Hanging it on a contrasting colored wall could emphasize its beauty.
- Humidity: Dry environments can crack wooden guitars while excessive humidity may lead to mold growth.
Additionally, keep in mind how frequently you play and tune your guitar – if often, choose a place easily accessible.
Finally yet importantly: height matters! A common rule of thumb is hanging at eye-level so its aesthetic appeal doesn’t go unnoticed nor does it become difficult to reach out whenever inspiration hits you! So here’s wishing you luck in giving your guitar not just any space but rather a special frame within which its charm can resonate beautifully.
Read also: how to hang guitar on wall
Step-by-Step Instructions: How to Securely Install a Guitar Hanger on Your Wall
Step 1: Choosing a Location
First things first, it’s essential to choose the appropriate location. The spot should be out of high-traffic areas to avoid accidental bumps or knocks. It’s also wise to select a place where the guitar would not be exposed to extreme temperature changes or direct sunlight, as these could damage your precious instrument. Look for an interior wall that stays consistent in temperature and isn’t prone to dampness.
Step 2: Gathering Materials
Now comes the fun part – gathering all necessary tools and materials! Here’s what you’ll need:
- A Drill with appropriate bits.
- A Stud Finder – this pocket-sized device will help locate studs (the wooden frames behind your drywall).
- Screws and Wall Plugs – included within most guitar hanger packages.
- The Guitar Hanger itself – ensure it has adequate padding to protect your guitar from scratches.
Once you’ve got everything together, use the stud finder on your chosen wall space until it indicates a stud is present. This ensures maximum support when hanging your guitar. Mark this spot lightly with a pencil; then pre-drill holes using an appropriately sized drill bit according to manufacturer instructions provided with your specific hanger model. Insert wall plugs into each drilled hole before proceeding onto securing screws through mount holes on the hanger directly into prepositioned plugs – voila! Your very own secure home for treasured guitars awaits.
Tips and Tricks for Ensuring the Safety of your Guitar When Hung on Wall
The act of hanging your guitar on the wall isn’t just a decorative aesthetic, it’s an art form. It can reflect personality and passion, but the safety of such a prized possession is paramount. There are several tips and tricks that you can follow to ensure this protective measure.
The first critical step is selecting a secure wall mount or hanger for your guitar. Prioritize those with padded hooks, as these protect against scratches or other damage to your instrument. You should install the hanger into a stud in the wall for maximum stability – drywall alone won’t last under weight over time. Some may even opt for slatwall systems which give flexibility in adjusting positions later.
- Avoid placing it near doors or windows: The vibrations from slamming doors can potentially loosen the guitar from its mounts,
- Avoid direct sunlight: Extended exposure can lead to warping and fading of your precious asset,
- Maintain appropriate temperature: Severe heat or cold conditions may cause cracks.
Ensuring safety doesn’t end at proper mounting; regular maintenance practices also contribute significantly towards safeguarding your guitar’s health when hung on display. A simple dust cover could go miles in keeping away unwanted dirt particles off delicate strings while adding an extra layer of protection against accidental spills. Regularly rotating guitars if you have more than one would also avoid pressure marks caused by long-term hanging.
- Clean them regularly: Dust accumulation not only affects aesthetics but could harm hardware components too.
- Tune frequently: Keeping strings loose reduces tension on neck during non-playing periods.
Remember, every small effort counts when it comes to preserving these timeless pieces of music history!
You may also like: essex vs yamaha piano
Conclusion: A Simple DIY Project – Hanging Your Guitar as an Art Piece.
There’s a certain charm to the idea of turning your beloved guitar into a piece of art. It’s not just about storage or space-saving; it highlights the instrument’s aesthetic beauty and celebrates your passion for music. Let’s dive in, shall we? The first thing you’ll need is a wall mount. These are widely available online, ranging from basic designs to more intricate ones, depending on your preference and budget. You’ll also require some screws, drywall anchors if you’re hanging on drywall without stud support, and of course – that beautiful guitar!
Installing the Mount:
Positioning is everything when it comes to hanging your guitar as an art piece. Consider factors such as visibility (you want everyone to appreciate it!), avoidance of direct sunlight (to prevent damage), and accessibility (easy reach for impromptu jam sessions). Once you’ve chosen the spot with these in mind:
- Mark out where you want the top screw(s) to go
- If needed, drill pilot holes followed by larger holes for wall anchors
- Screw in the hanger/bar until secure
The Finishing Touches:
Now all that’s left is placing our star—the guitar—on its new throne! Gently rest its headstock on the padded arms of your hanger or bar while ensuring that it seats securely within them. Step back, admire how stunningly cool your room looks now with this one-of-a-kind feature added! This simple yet impactful DIY project will surely inspire many conversations among guests while silently singing songs of fond memories every time you cast a glance at it.