

Looking to give your old piano a new life with a fresh coat of paint? You’ve come to the right place! As an experienced pianist and DIY enthusiast, I’ve heard it all- “Can you even paint a piano?” The answer is yes, but before you grab that brush and start painting away, there are some important dos and don’ts to consider. From color choices to surface preparation, I’ll guide you through the process step by step. So if you’re ready to transform your old instrument into a stunning showpiece, let’s dive in together!
So, can you paint a piano?
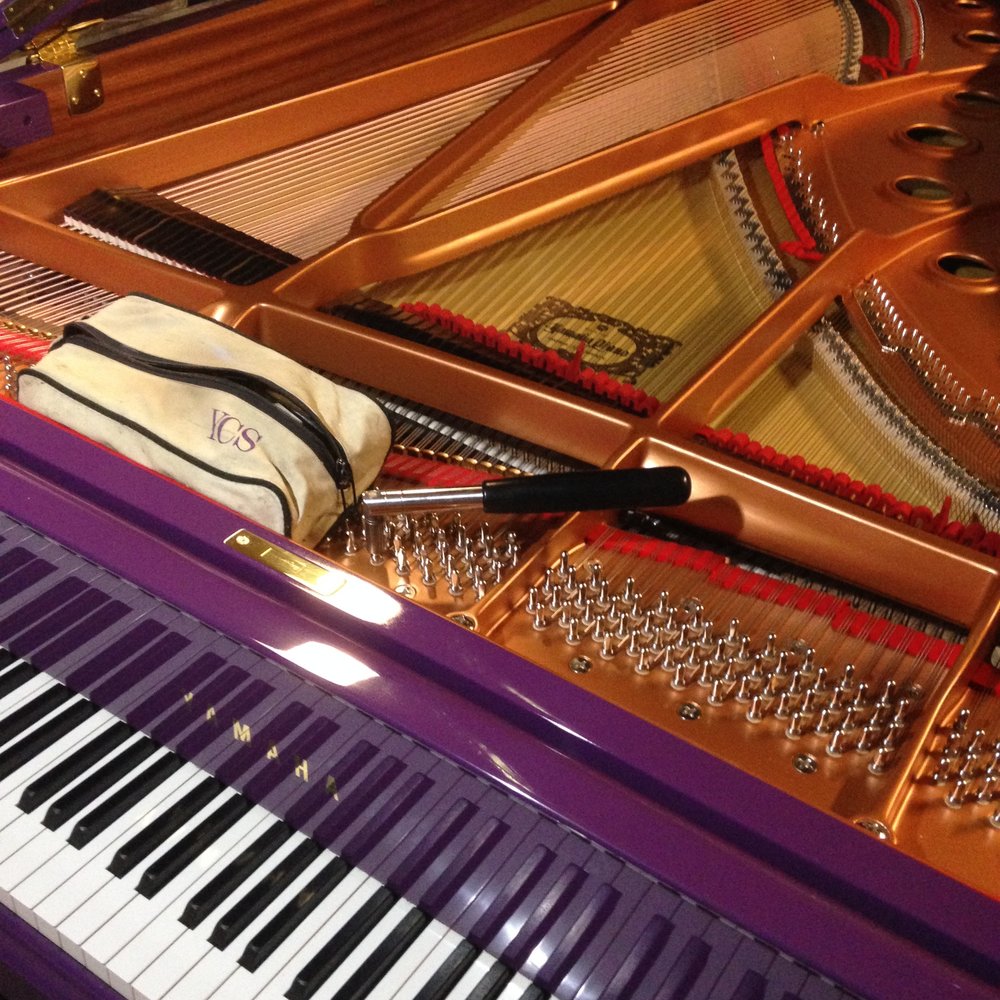
You can paint a piano but it requires careful preparation and execution to ensure a successful transformation. The first thing to consider is the type of paint that should be used – oil-based or water-based paints are recommended for their durability and ability to adhere well to the piano’s surface.
Before starting the painting process, it is important to thoroughly clean and sand the piano’s surface. This will help the paint adhere better and create a smooth finish. It is also crucial to remove all hardware such as keys, pedals, and knobs before painting.
When applying the paint, use thin coats and allow each coat to dry completely before adding another layer. This will prevent drips or uneven coverage. It may take several coats for full coverage depending on the color you choose.
As with any DIY project, there are some don’ts that should be kept in mind when painting a piano. Do not rush through the preparation process or skip steps like sanding – this could result in an uneven finish or peeling paint later on. Also, avoid using latex or spray paints as they do not provide enough durability for a high-use item like a piano.
In conclusion, while it is possible to transform your old instrument with some fresh paint, it requires patience and attention to detail for best results. With proper preparation and quality materials, your painted piano can become a beautiful statement piece in your home!
The Importance of Choosing the Right Paint for Your Piano
There’s something truly magical about a piano, isn’t there? Each one possesses its own unique timbre, flare and personality. Yet, beyond the melodic tunes it produces, the visual appeal of your piano is also incredibly significant. This means that choosing the right paint for this treasured instrument can be as crucial as striking the perfect chord itself.
If you’re planning on giving your beloved music machine a new lease of life with a fresh coat of paint, here are some essential considerations to keep in mind:
The importance of carefully selecting suitable paint should not be underestimated when restoring or updating your piano’s appearance. It serves as an extension of your personal aesthetic while preserving the integrity of this cherished musical artifact. So go ahead: explore those hues till they match your notes perfectly!
Detailed Steps to Prep Your Piano for Painting
Step One: Prepping the Surface
The first step is all about making sure your piano’s surface is ready for a splash of color. First off, dust and wipe down the entire body with a soft cloth to rid it of any dirt or grime that could compromise your paint job. You might encounter patches of stubborn residue; they can be dealt with using a gentle cleaner but avoid those containing harsh chemicals as they can damage the wood. After cleaning, turn your attention towards existing paint or varnish. Some pianos come adorned with finishes that need to be sanded off before painting begins.
- Grab some sandpaper (220-grit would do perfectly).
- Lightly sand across your piano’s surface until it feels smooth to touch.
- Rub in small circles concentrating on one area at a time.
You don’t have to remove every last bit of finish, just enough to give your new paint something solid to grip onto.
Step Two: Primer Application
After prepping comes priming – this primes the wood for its transition from an ordinary musical instrument into an extraordinary piece of painted art. To start
- Select a high-quality primer suitable for wooden surfaces.
This initial coat acts like an adhesive base between wood and paint ensuring longevity and vibrancy in color.
- Gently apply primer using long strokes with foam brush being careful not to leave drips or streaks behind.
Once you’ve fully primed your piano, you’re set! It’s now ready for transformation through colors and creativity, turning music into visual art.
Read also: can you paint a piano
Understanding and Avoiding Common Mistakes When Painting a Piano
Understanding common mistakes when painting a piano is crucial to achieving an exceptional result. At first glance, this task might seem straightforward, yet many overlook the critical steps and nuances involved in this delicate process.
Firstly, failing to prepare the piano’s surface adequately before applying paint is a prevalent mistake that can lead to disappointing outcomes. When you rush into the painting phase without thoroughly cleaning and sanding your instrument, it can undermine the adhesion of your paint, leading to peeling or bubbling over time. Not only does proper preparation ensure better paint adherence but also helps create a smooth finish that highlights rather than hides your piano’s classical beauty.
- Cleaning: Remove any greasy spots or dust by using warm soapy water followed by rubbing alcohol for stubborn areas.
- Sanding: Gently scuff up glossy surfaces with medium grit sandpaper (around 150 grit) giving them texture which allows for superior paint grip.
The second notable misstep often occurs while selecting paints.The type of paint you choose significantly influences both aesthetics and durability of your painted piano. Many people fall into the trap of choosing low-quality paints due solely to cheaper price tags without considering their long-term effects — these products tend not to last as long and lack vibrancy compared higher quality counterparts.
- Type: Choose acrylic latex enamel based paints for best results as they offer excellent durability along with vibrant colors.
- Varnish: Don’t forget about varnish! A good layer will protect from scratches maintaining its luster longer!
By understanding these common pitfalls in advance,piano painting can become an enjoyable DIY project yielding professional level results .
 can you paint a piano
Tips on Maintaining the Look and Performance of Your Painted Piano
Maintaining the Appearance of Your Painted Piano
When you first lay eyes on your beautifully painted piano, it is as if an artist has breathed life into a silent canvas with their vibrant colors and intricate designs. The keys seem to sing even louder, each note echoing against the rich hues cast along its body. However, maintaining this beautiful instrument requires some attention and care.
To keep your painted piano looking breathtakingly new, regularly dusting it is essential. Use a microfiber cloth or feather duster to wipe down all surfaces gently – from the ornate decorations to those ebony and ivory keys. Ensure you don’t press too hard while dusting; otherwise, you might scratch the paintwork.
Remember that cleaning products containing chemicals can harm both the paint job and your piano’s woodwork—opt for mild soaps mixed with warm water instead. Rinely thoroughly after any damp cleaning processes.
Preserving Your Painted Piano’s Performance
Aesthetics aside, ensuring that your painted piano performs at its highest potential is equally vital.
You may enjoy gazing upon its beauty every day but remember – proper tuning ensures a harmonious marriage between visual artistry and auditory charm.
- Tuning: Regular professional tunings are crucial in preserving sound quality over time.
- Piano Placement: Avoid placing your prized possession near windows or doors where extreme temperature changes can cause untimely wear-and-tear.
- Avoid Direct Sunlight: UV rays could damage both the painting job and warp wooden parts over time.
So whether you’re playing Chopin Nocturnes or simply letting its presence enhance your room decoratively, take these tips to heart — they’ll help maintain both the look & performance of your enchantingly painted piano!
You may also like: yamaha rosewood piano
Conclusion: Successfully Transforming an Old Piano with Paint
We’ve all encountered that aged, rundown piano gathering dust in the corner. It might be a sentimental artifact from Grandma or an unusual garage sale find. Whatever its origin, it becomes clear that this antique gem is in desperate need of a makeover – not for the sake of sound, but style. Transforming an old piano with paint can turn this forgotten piece into a stunning focal point within your home.
Let’s start by preparing our canvas properly – and in our case, that means stripping away the years of accumulated grime and previous finishes until we get to the heart: raw wood just waiting to shine again. A bit of elbow grease mixed with chemical strippers will do wonders here; remember to work patiently and carefully so as not to damage any delicate parts.
Once our preparation stage is complete, we move on to possibly the most enjoyable part: selecting our paint! Whether you fancy bold royal blue or soft pastel pink, choose a hue which complements your room’s décor while also reflecting your personal taste.
- Select high-quality acrylic paint for durability.
- A satin finish adds elegance without being too shiny.
Paying attention to these small details can underscore why customizing an old piano isn’t merely about giving it new life; it’s about creating something uniquely yours – testimony to both your individual style and love for music.